
Enabling/Disabling Tabs on AEM 6.1 Assets Metadata Schemas using groups
Dec 19, 2015 · 3 minute read · CommentsAEMAssets
With AEM 6.X we have a feature that allow to customize the metadata form for Assets via metadata schemas. You can find the documentation here.
To change or create a new schema we need to go to:
Tools -> Assets -> Metadata Schemas
In this post we will add two new tabs in the schema and set them to be displayed based on the group the user belongs to.
So let’s start.
Add the new tabs
We navigate to the Metadata Schemas section to edit the default schema. We need to select the Schema and click in the Edit button.
Once the schema editor is open, we need to add two new tabs by clicking in the plus button near the last tab:
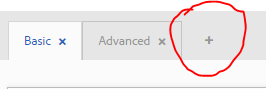
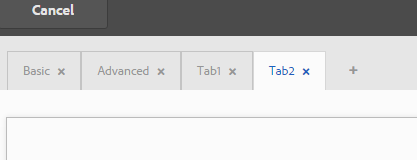
We will add two new tabs: Tab1 and Tab2.
After adding the tabs it will look like below:
As we added the two new tabs in the default schema, they will appear if we edit any asset in AEM.
Create the groups
In this example we will set this to display the tab1 for the users on Group1 and tab2 for users on Group2.
In order to do this, we need to create these groups.
To do that we need to navigate to:
Tools -> Operations -> Security -> Groups
And now click on Add Group.
We need to create two Groups: Group1 and Group2.
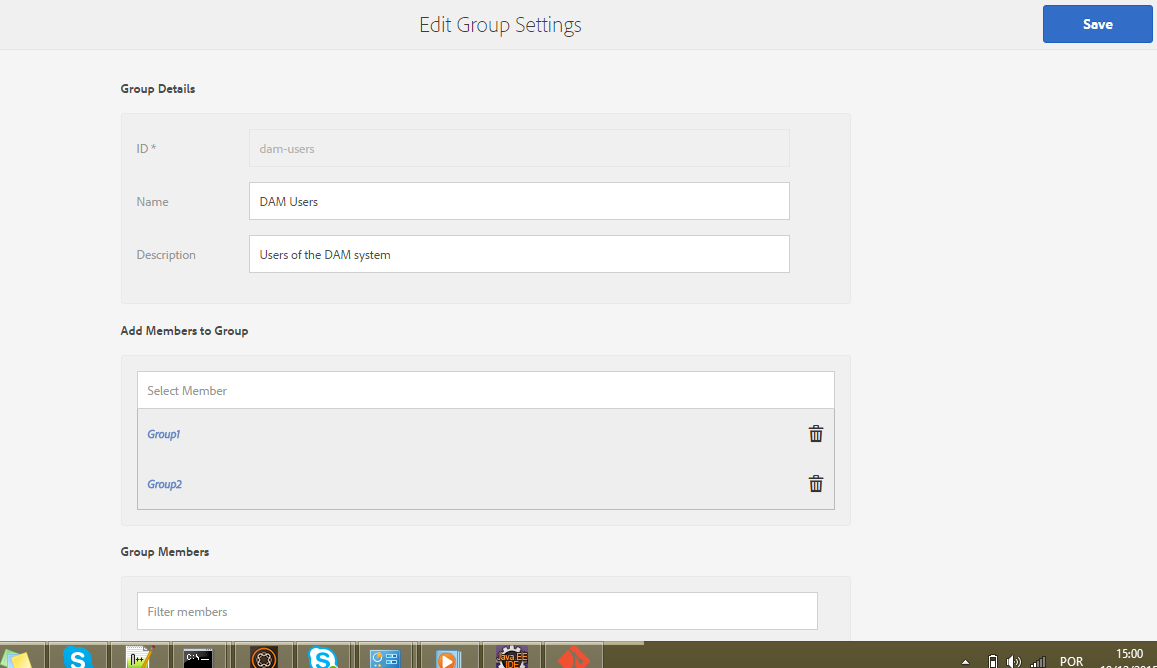
Once we create the groups, we need to add them as members of the dam-users group in order to allow the users to edit assets.
To do that, edit the dam-users group and add the Group1 and Group2 as member of the group:
Now we need to create the users.
Create the users
To create the new users we need to navigate to:
Tools -> Operations -> Security -> Users
And click on Add User.
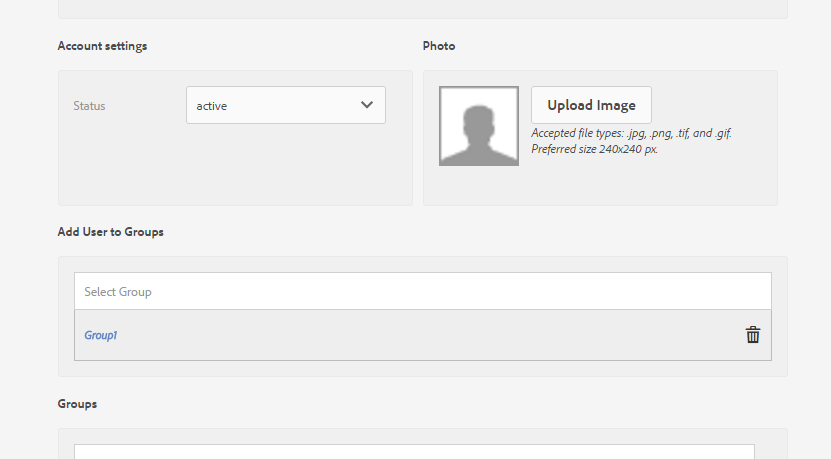
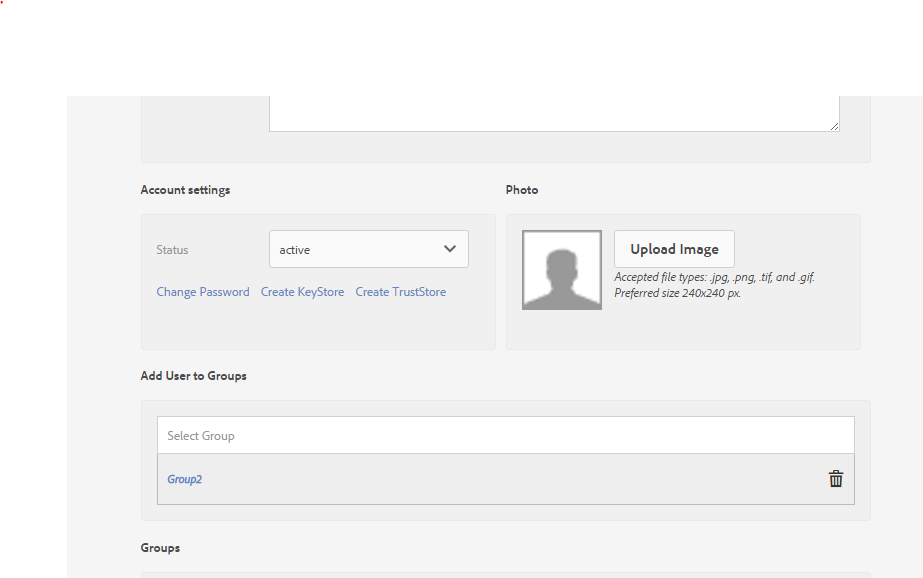
We will create two users: usergroup1 and usergroup2. For testing purposes we need to set only the userid and password and add the user to the correct group.
Once we have the groups, we need to set the permissions.
Set the permissions
To set the permissions for each group we need to go the Permissions section:
Tools -> Operations -> Security -> Permissions
The default schemas are located at:
/libs/dam/content/schemaeditors/forms/
But once we changed it, the updated one is saved in the apps folders:
/apps/dam/content/schemaeditors/forms/
In the permissions section we are going to grant the permissions for each group for the tabs we created, let’s start with Group 1:
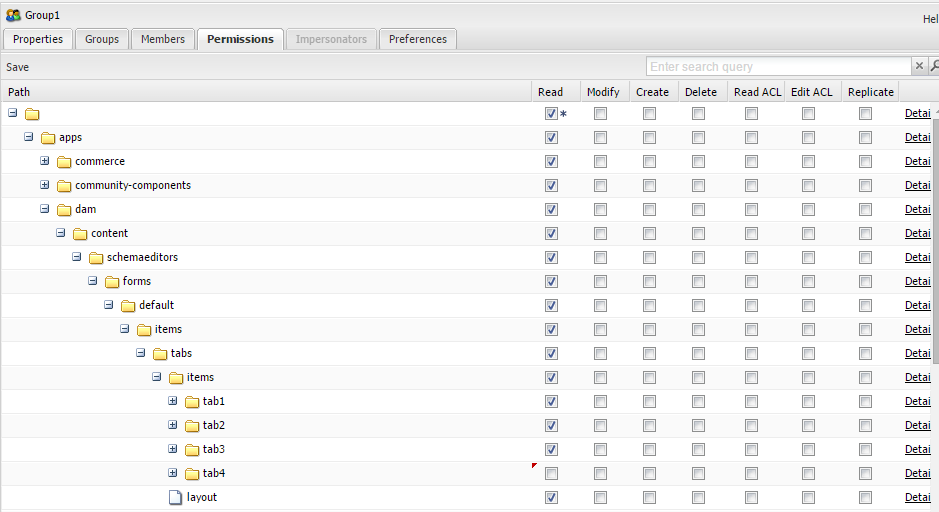
As we can see, we needed to navigate in the node structure until reach the tabs. We can see that we have 4 tabs. The tabs3 and tabs4 are the new ones we added in the previous steps.
In the image we can see that we mark the read check box for tab3 and unchecked for tab4.
With this config we are saying that the users of this group have read permission for the tab3 but not for the tab 4.
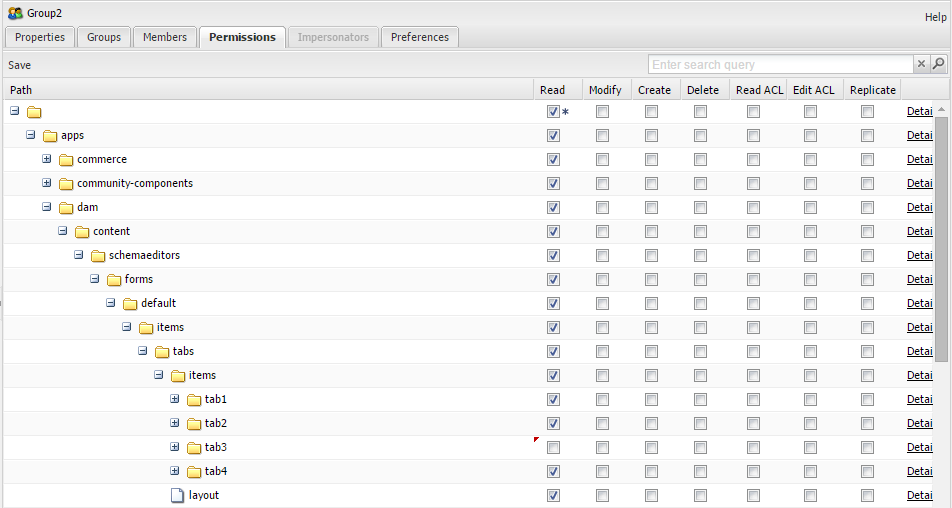
We will do a similar thing for group2, but we will allow read for tab4 and do not allow for tab3, like below:
Now let’s test our configuration.
Testing
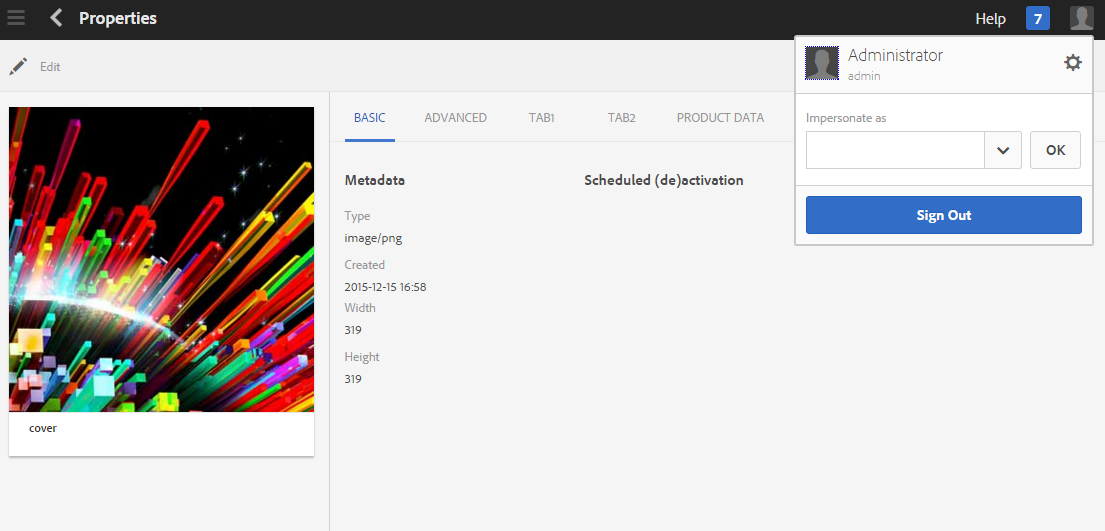
To test our configuration we can log with each user or we can impersonate the users if we are logged as admin.
Logged as admin we can see both tabs:
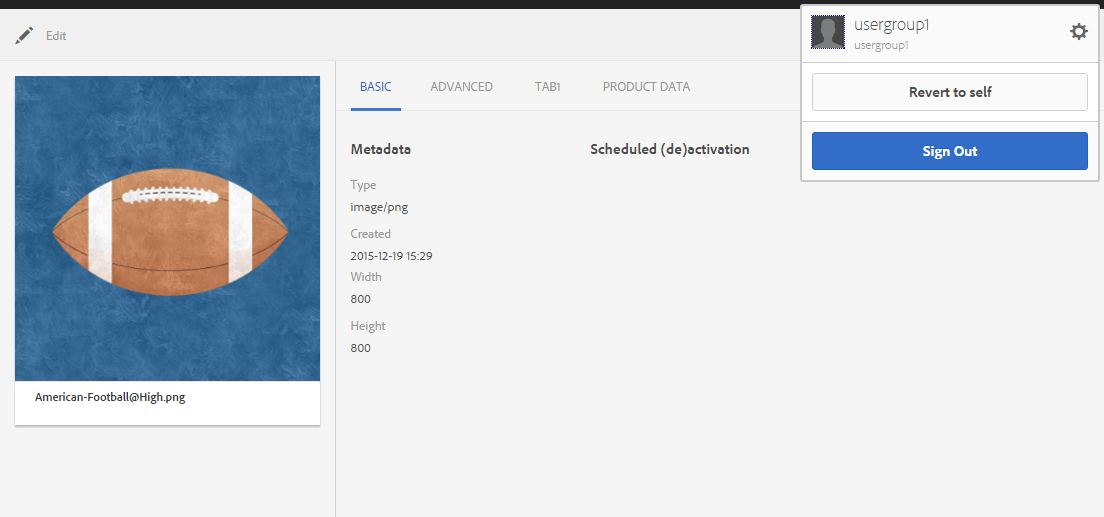
Logged as usergroup1 we can see only the Tab1:
Logged as usergroup2 we can see only the Tab2:

That’s it! I hope you enjoyed it.
See you in the next post.